Microcement pools
A seamless, hand-finished lining for pools, plunge pools and spas. Curves, steps and benches in one continuous mineral surface, with the soft look of natural stone and no grout lines.
- Swimming pools New build
- Plunge & natural-look pools Indoor & outdoor
- Spas & hot tubs Built in place
- Pool surrounds & steps Continuous with the pool
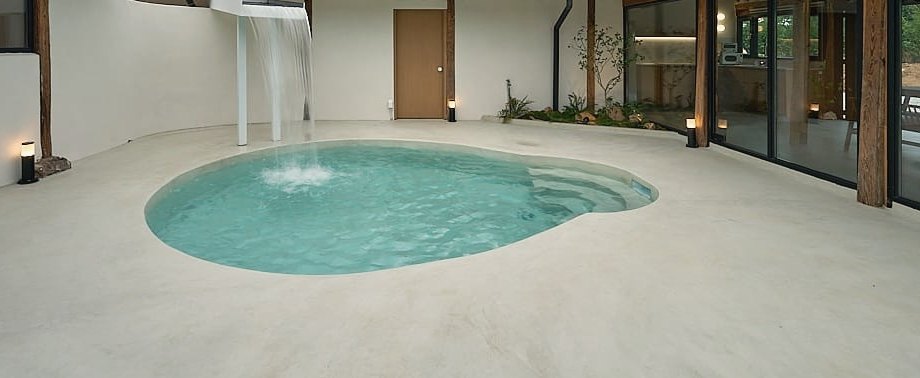
A pool that looks carved, not tiled
Seamless
No tiles and no grout lines to discolour or harbour algae. One surface from floor to coping.
Free-form
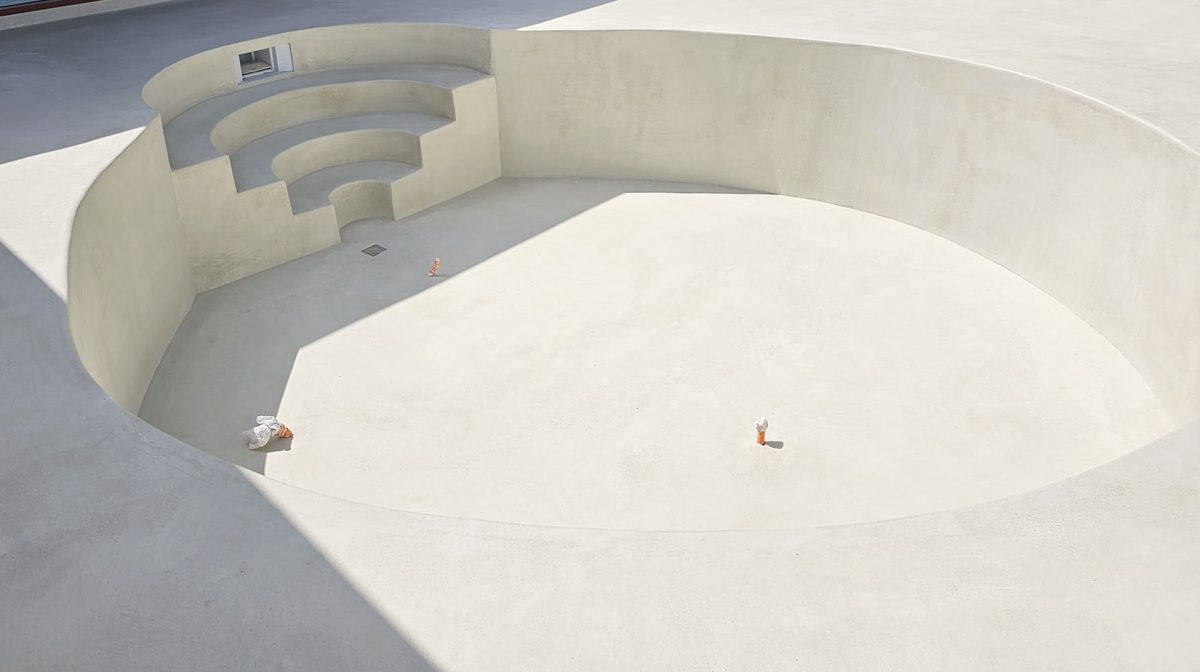
Follows any shape: round pools, curved steps, sunken benches and soft edges, all in the same finish.
Natural look
A matt, mineral surface in warm stone tones that suits Mediterranean and natural-pool designs.
Water-ready
A dedicated pool system, compatible with both chlorine and salt-water treatment.
Seven coats, three to five millimetres
A pool is lined in a dedicated pool-grade system, never the microcement used on interior walls. Each coat has its own job.
Prepare the shell
The concrete shell is checked, waterproofed and cleaned. The lining only goes onto sound, prepared concrete.
Prime
One coat of pool primer, rolled on to give the microcement a firm key to the concrete.
Two base coats
Two coats of coarse-grade pool microcement, the first without colour, sanded flat between coats. These build strength and body.
Two finish coats
Two coats of fine-grade microcement in the chosen colour, trowelled by hand. This is where the texture and tone are made.
Seal
Two coats of a dedicated pool sealer, a day apart, starting a day after the last finish coat.
From shell to swimming
Typical timings once the shell is ready. Weather, temperature and pool size change these, so every programme is confirmed on survey.
Drying and sanding time between each microcement coat.
After the final finish coat.
Two coats, applied a day apart.
After sealing, before the pool is filled.
Suitability and care
Suitable substrates
- Reinforced concrete pool shells
- Sprayed concrete and gunite
- Concrete must be waterproofed before lining
- Not over existing tiles, paints, waterproof mortars or other microcements
Living with it
- Works with chlorine and salt-water systems
- Keep water chemistry balanced to protect the sealer
- Clean with a pressure washer when the pool is drained
- Lightly sand and reseal every one to two years
Every pool is surveyed and specified individually. The figures here are typical for a pool-grade microcement system and are confirmed against the manufacturer's current data sheets for each project.